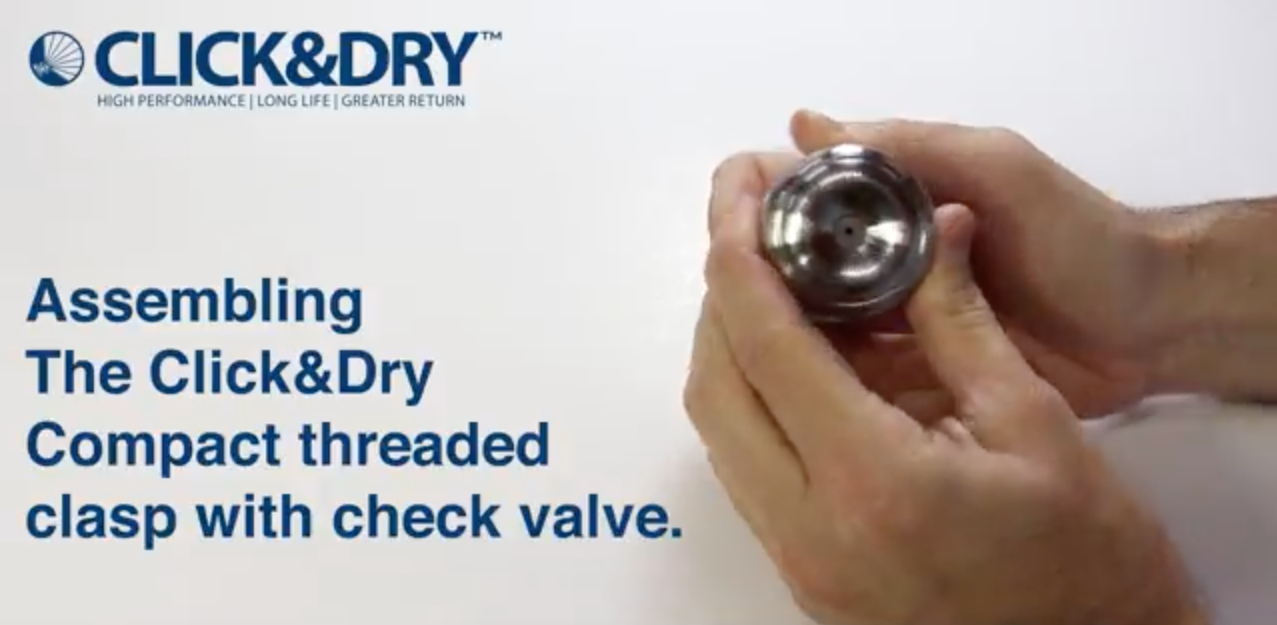
In this video, we are going to demonstrate the assembling of the Click&Dry™ Compact threaded clasp with check valve
Ensure the clasp is clean from any obstructions, aligning the swirl inlet with the clasp window, locate the 3 grooves of the clasp with the 3 grooves of the swirl and insert all the way.
Insert the edge of the disc against the single claps claw. Push the disc into and downwards in one motion until you hear a click.
Fit the o-ring within the seal-in-disc groove. O-rings must be lubricated with food grade lubricant.
Insert the threaded clasp into the bench plate, insert the pin through the holes as shown, take the cap and place onto the clasp, screw cap down and home.
Ensure the disc can be seen at the top of the cap confirming o-ring sealing.
With the cap in an inverted orientation, place the o-ring into the sealing groove. Ensure proper fit by running your thumb over the surface area. Apply food grade lubricant to this seal.
Take the assembled check valve body and clip the spring as shown. Align the check valve assembly to the rear of the clasp and twist and push until it clicks into place.
Check the internal body faces are clean and clear. Take the cap assembly and screw into the nozzle body taking care with o-ring. The added resistance is due to the check valve.
Take the click and dry spanner provided and tighten the cap with a nip.
Now to demonstrate the disassembly of the Click&Dry™ Compact threaded clasp.
Take the Click&Dry™ spanner provided and undo the cap. Place the cap assembly into the threaded clasp extraction tool. Insert the pin provided through the opening over the tool and the pinhole. Using both, the spanner and pin, turn accordingly.
Insert the key through the keyway and twist the tool to remove the wear parts softly. If the swirl remains, use the handle of this tool and push through the rear of the clasp.

